Crossbill Cone initial configuration
On the Crossbill Cone installation, the initial system configuration is required. To perform a configuration follow the steps:
Configure Crossbill Central
Crossbill Central is a web system for the software updates and license management. To perform an initial configuration follow the steps:
- Open a web browser.
- Navigate to Crossbill Central web page. By default, the page is available as
http://central.my-domain.com(where my-domain.com should be replaced with the domain name configured during the installation). - On the first load of the system, it is expected some wait time until the page appears. During the first start, you may see a 502 or 504 error page. In this case refresh a page in a browser until the valid page appears.
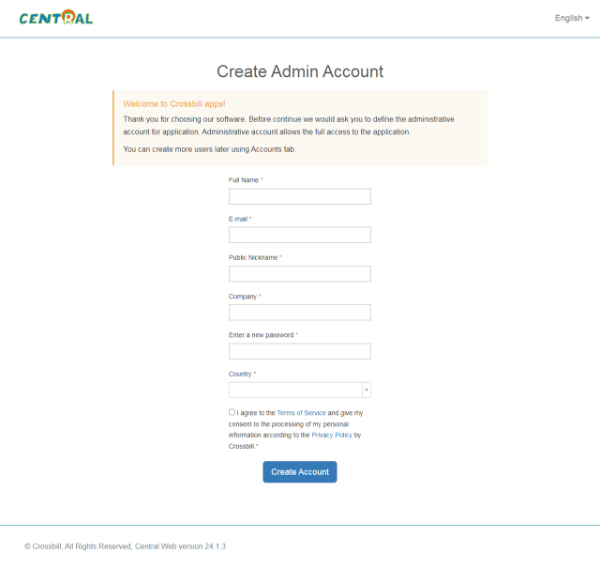
- The initial screen allows you to create a system administrator account. Fill the required fields and click the Create Account button.
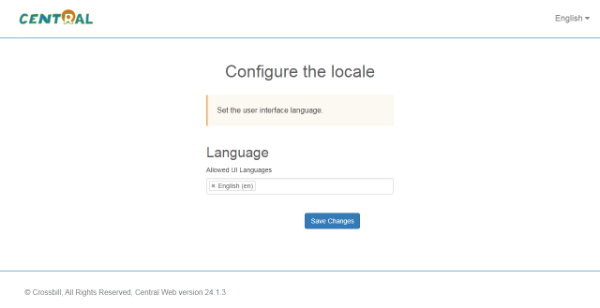
- The next screen configures a system language. Use default value for any common configuration. To save the choice click the Save Changes button.
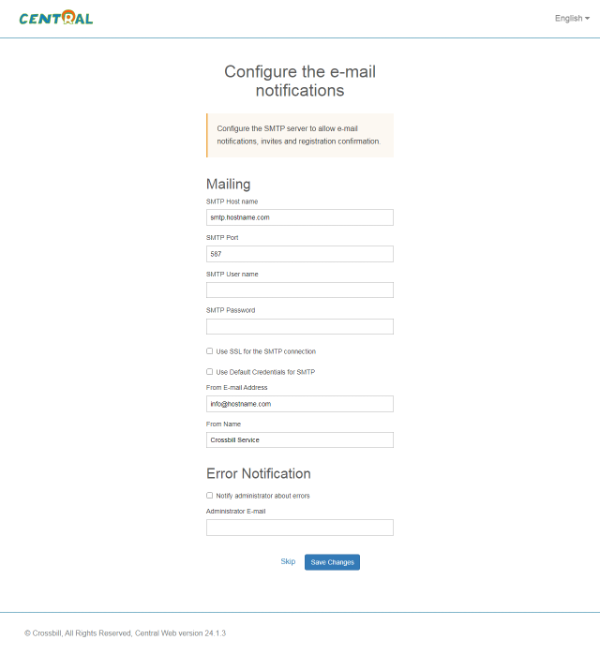
- The next screen configures the mailing component. Note that you can skip the mailing configuration on this step and do it later from a System Settings page. The system uses SMTP standard to send e-mails. The SMTP server configuration is required for any mailing tasks. Use settings from a third party mailing provider you already have or install a private SMTP server. For example, you may use Crossbill CrossMail to have a dedicated mail server suitable for mailing tasks. Once you set the settings, click the Save Changes button.
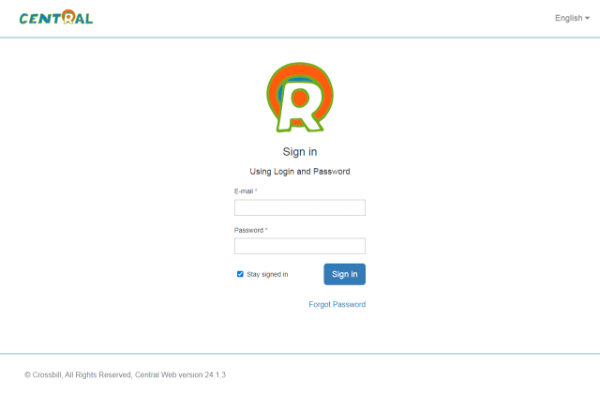
- Crossbill Central is now configured. Log into the system using the e-mail and password of the administrator's account.
Configure Crossbill Cone
Now it's time to configure the Crossbill Cone system. Follow the steps:
- Open a web browser.
- Navigate to Crossbill Cone web page. By default, the page is available as
http://my-domain.com(where my-domain.com should be replaced with the domain name configured during the installation). - On the first load of the system, it is expected some wait time until the page appears. During the first start, you may see a 502 or 504 error page. In this case refresh a page in a browser until the valid page appears.
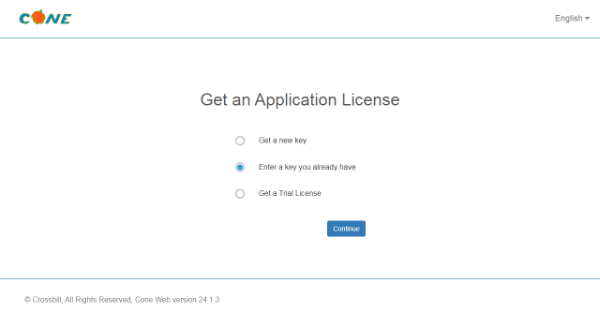
- If Crossbill Central is already configured, then the licensing page would appear. You can get an evaluation (trial) license for Crossbill Cone. Select a related option and click the Continue button.
-
The next screen configures a connection to the crossbillsoftware.com website. The license information will be automatically downloaded from crossbillsoftware.com. So, the connection information is required. If you need a new account, click the Create new account link and follow the crossbillsoftware.com account registration steps.
Note that you have an option to use an offline license file. In this case, no online connection is required.
[Image not found!] - Enter your crossbillsoftware.com account username and password. Click the Connect button.
- Now you can issue an evaluation (trial) license or enter the license details you already have.
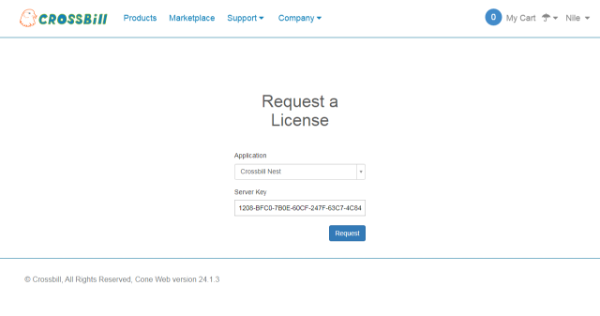
- To issue an evaluation (trial) license click the request evaluation license link. The link directs you to a license request page on the crossbillsoftware.com website.
- Make sure to fill the application field and a server key field properly. Then click the Request button.
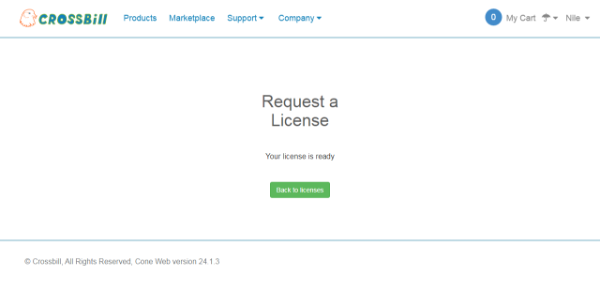
- Once license is ready, you will see a confirmation:
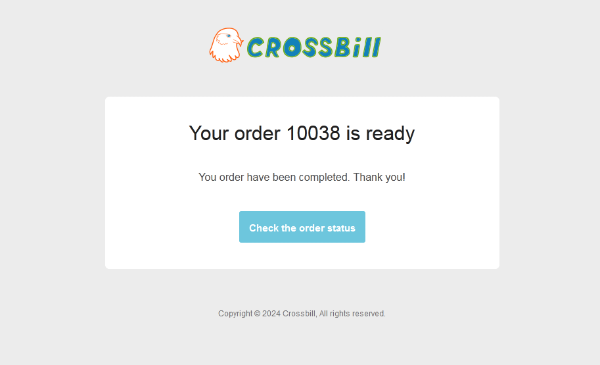
- Also Crossbill sends a confirmation e-mail message.
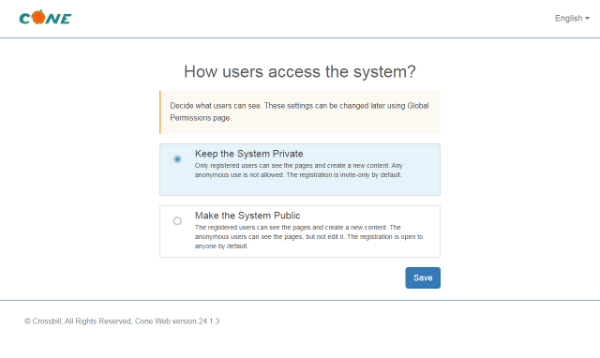
- Once the license is issued, the Crossbill Cone configuration continues. The next screen configures an access to the system. It allows to use system for the Internet users (public use) or privately.
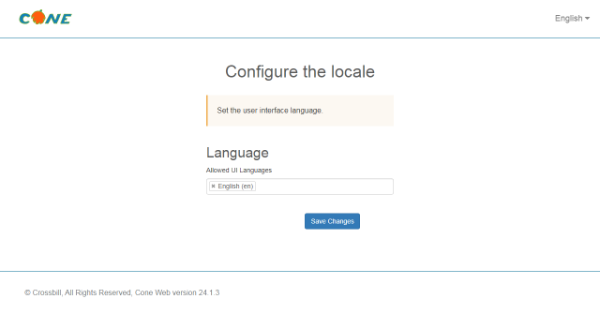
- The next screen configures a system language. Use default value for any common configuration. To save the choice click the Save Changes button.
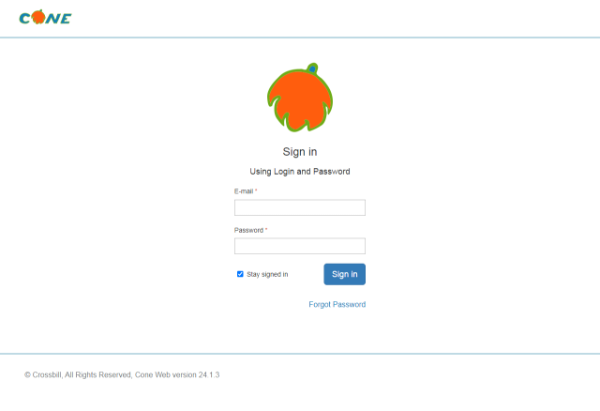
- Crossbill Cone is now configured. Log into the system using the e-mail and password of the administrator's account.
Create the first Crossbill Cone space
Now you can create a first space with Crossbill Cone.
- Open a web browser.
- Navigate to Crossbill Cone web page.
- Log into the system if required.
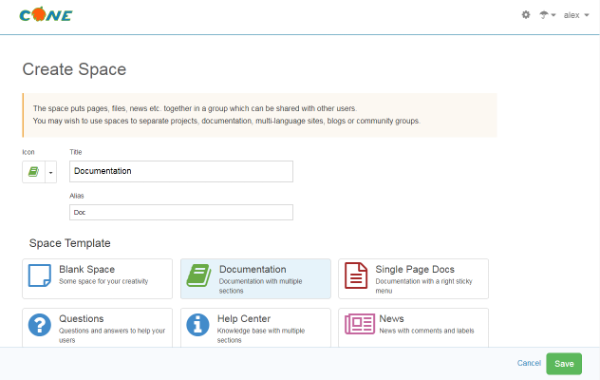
- Fill the new space form, select the space template and click the Save button.
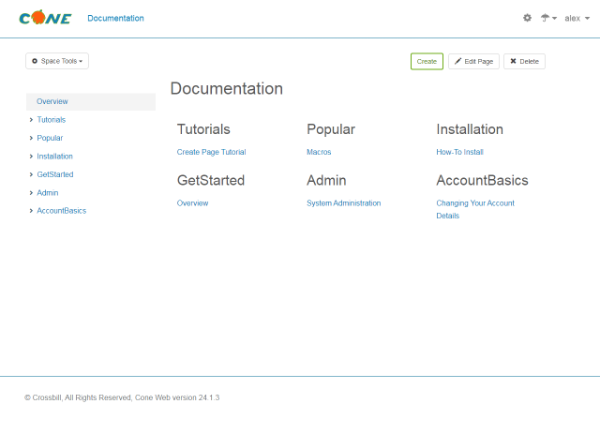
- The first space will appear in the top menu and will be available to browse. For example, a space from the Documentation space template:

